Updating eClaims client machines to Web Services
Important: This guide assumes that an ACSS technician has already updated your eClaims server application and has provided you with Device Activation Codes – DAC to update the rest of your eClaims installations.
- Run the VFPOLEDBSetup.msi
Note: This file needs to be run on every eClaims workstation that you are updating.Then click on Next > Select I Agree > Next > Next > Select Everyone > Next > Next
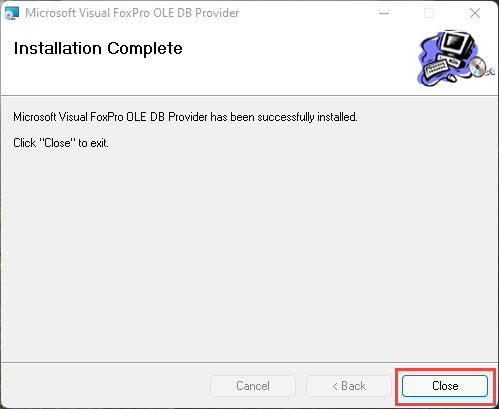
Once the installation is complete, you will see the below message. Simply click Close and move onto the next step.Note: the VFPOLEDB MSI file can be deployed via Group Policy, if your IT providers have the capability. This removes the need to individually install the file under Admin permissions to each workstation.
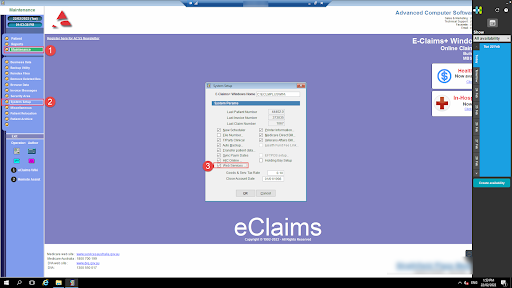
- Navigate to maintenance > system setup > Web Services
- Then, enter the Proda RA number, Device Name, and respective Activation code provided to you by ACSS and hit OK > then hit Yes
Note: Do not enter your own RA number in this step. You must strictly use the Proda RA number provided to you by ACSS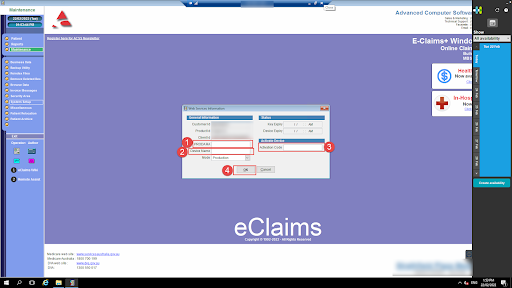
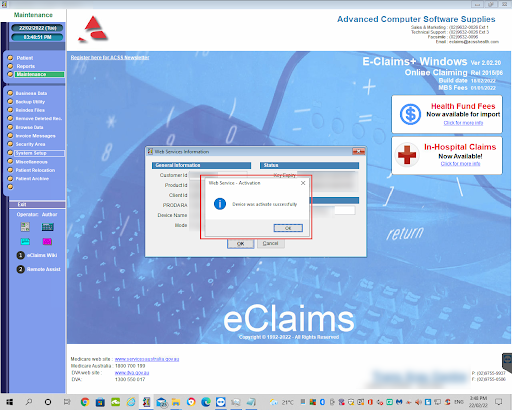
And that’s it. If the details entered are accepted, you will see the below message indicating that the update was successful. Simply hit OK and run an Online Patient Verification – OPV to ensure connectivity with Medicare.
If you experience any issues or errors at any stage when following this guide, please contact ACSS support on 02 9632 0026 or support@acsshealth.com.