Scheduler appointment type and colour
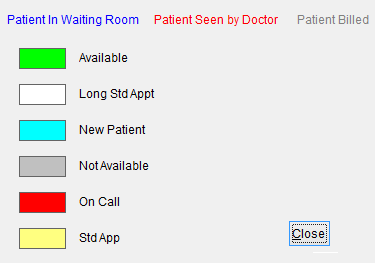
The scheduler displays custom names and colours for appointments.
If you open the scheduler you will notice that some appointments are in different colours.
For more information on the scheduler refer to Scheduler.

Click on the legend button at the bottom left corner of the screen.
If you want to modify or create the appointment type and colour go to the main menu.
A quick way to get to the main menu from anywhere in eClaims click escape on the keyboard a few times.
Click Maintenance and Miscellaneous from the left side of the screen.
You will be prompted to Enter the System Password
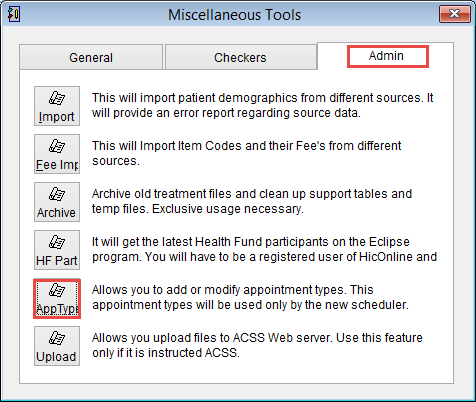
Click the Admin tab at the top of the screen and then select AppType to open the Miscellaneous Tools screen.
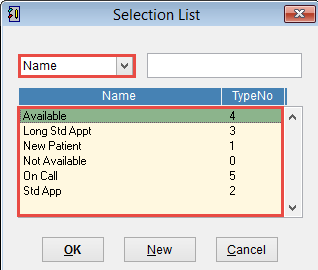
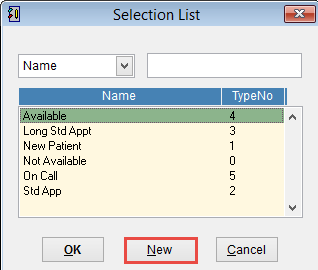
By default the appointment list is sorted by Name. Click the box in the top left corner to change the sort order to be by appointment type number.
Double click on an appointment to see the details of the appointment.

In this example.
It’s appointment number 4.
The name of the appointment is Available.
Length is 15 minutes
Displayed in the scheduler in green.
The Appointment name, length and colour an be modified. Click OK to save changes or Cancel to discard changes and return to the previous screen.
Click Delete to delete the appointment from eClaims.
Want to change the colour of an appointment. Click on the colour field and select a new colour.
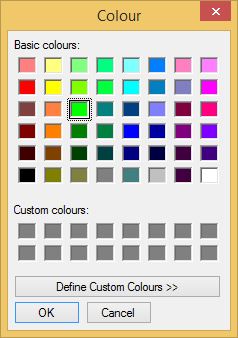
Click OK to select the new colour or Cancel to discard all changes and return to the previous screen.
To create a new appointment type.
From the Select List screen click New.
The Appointment Type screen creates and modifies the name and colour of appointments.
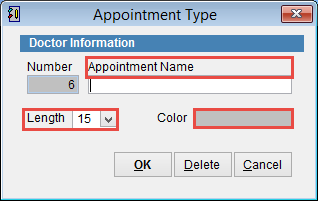
The appointment number is created by eClaims and cannot be modified.
Enter the appointment name, select the length in the drop down box and colour by clicking on the colour field.
When you’re finished click OK to create the appointment type or Cancel to discard the changes and return to the previous screen.
Now that you’ve created the appointment types click here to assign these appointments to a doctor in the scheduler.