How to relocate the eClaims server
This tutorial will help you install the eClaims server on a PC for a client already using eClaims.
Preparation Requirements
Before attempting the installation please ensure that you have the following :
Ensure you have a copy of the entire “eclmpluswin” folder from the old eClaims server as well the backups folder (if it is located outside of the eclmpluswin folder).
Download eclaims server software from http://acsshealth.com/installs/disk1ecserver.exe and save this file on the new server
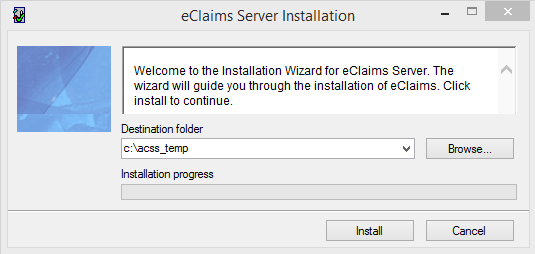
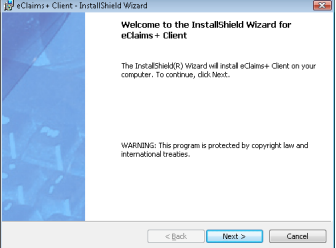
eClaims Server Installation
Click Install and follow the installation prompts.
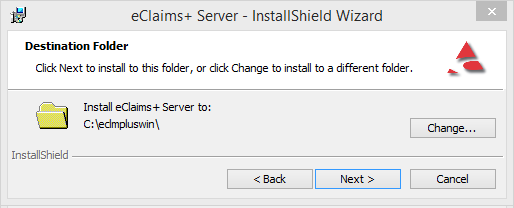
Note : Ensure the Destination folder is set to the local drive, eg. ‘C:\’
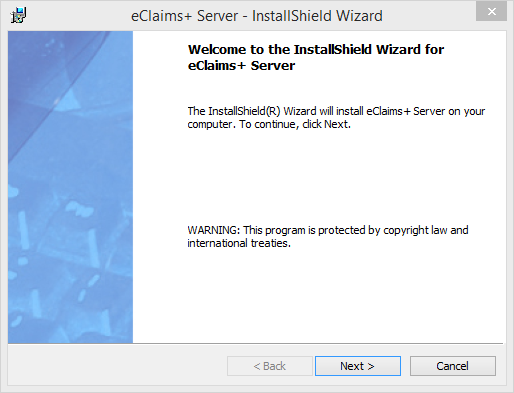
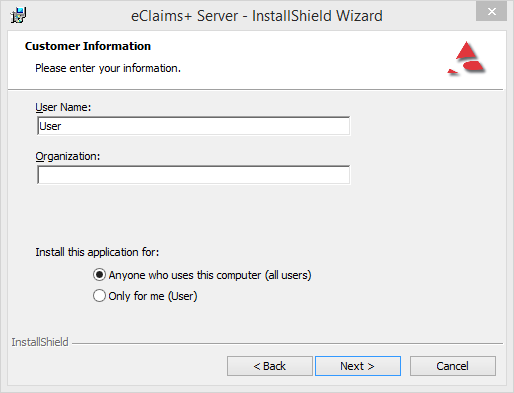
Click Next
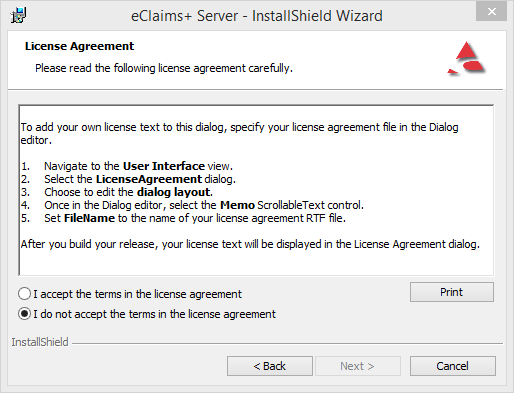
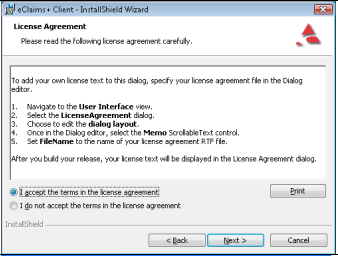
Select I accept the terms in the license agreement. Click Next
Note : If ‘Anyone who uses this computer (all users)’ is greyed out or not there at
all,’CANCEL’ the installation and ensure you are logged in as a user with administrator privileges.
By default the path is set to C:\eclmpluswin\
Note : To change the path, click on Change enter the path and click OK. Click on Next
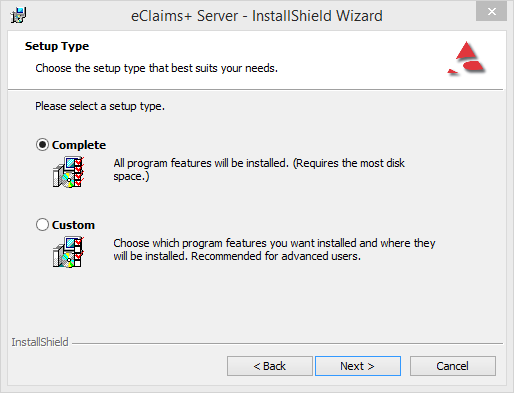
Select Complete and then Next
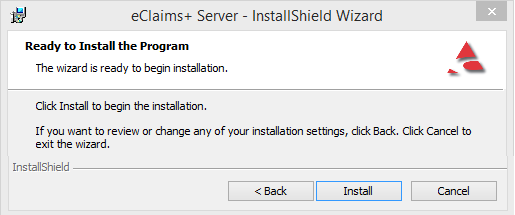
Click Install
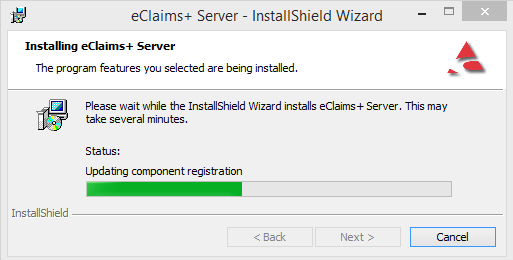
The application will now be installed
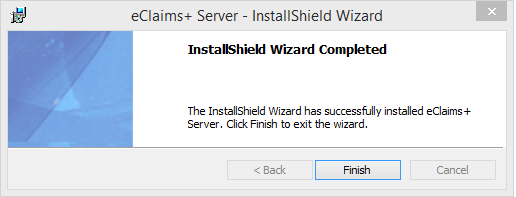
Click on Finish
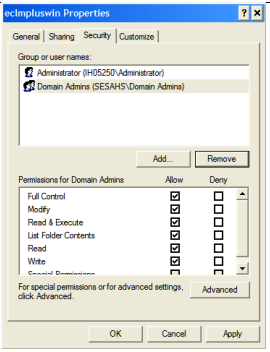
Open My Computer, select C:Right click on the folder Eclmpluswin and select Sharing and Security.
Click on the Security tab and select Add
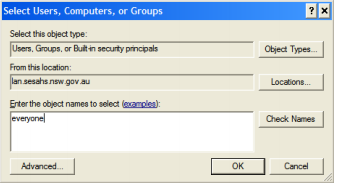
Click on the box enter the object names to select (examples) and type in the User Group (if unknown – use “Everyone”). Click the Check Names button on the right side of the screen.
The word specified group will be underlined. Click OK
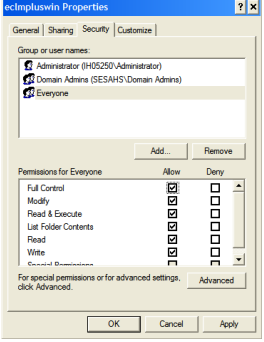
Select the User Group OR Everyone. Tick the “Full Control” (NOTE: “Modify” is the minimum permissions required) option in the Allow column. Click OK to continue.
Now copy the old data folder into the new installation directory.
Open and login to eClaims.
This internet link will open automatically showing details of the software update. Close this webpage.
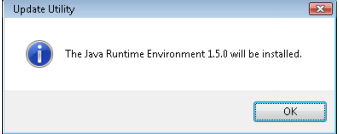
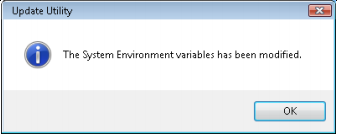
eClaims will automatically run through this process of updating the Java application. Click OK
The application will automatically run through this process. Click OK
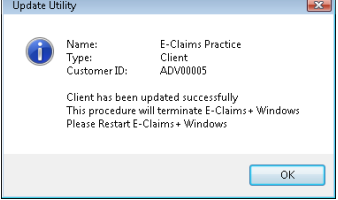
The application will automatically run through this process. Click OK
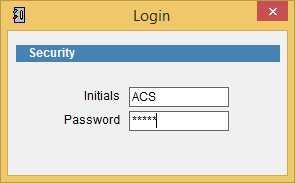
Double click on the eClaims shortcut on the desktop.
Enter the login Initials and Password.
The default settings are Initials ACS, Password ADMIN
eClaims should now open and is ready to use.