How to Scan Documents
This tutorial will show you how to select the scanner in eClaims so that documents can be scanned and attached to the patient record.
Go to the patient screen.
To learn how to open the patient screen click here. How to open the patient screen.
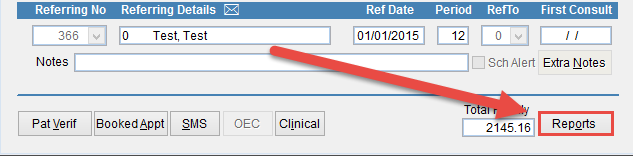
Click the Reports button in the bottom left corner of the patient screen.
The Word Processing screen will open. Click the Scan tab and the scanner details will be displayed below.
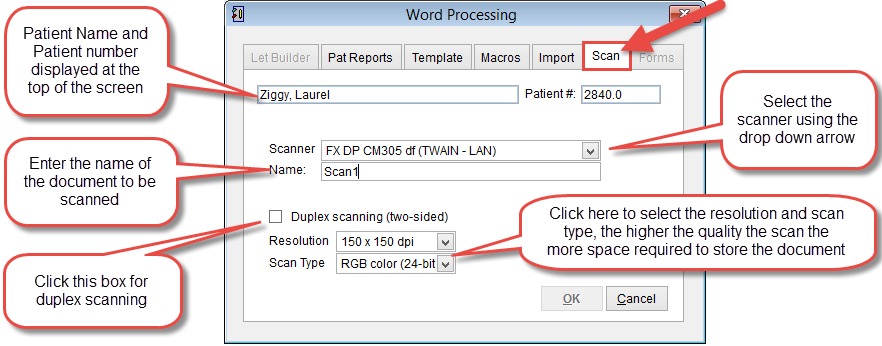
To select or modify the scanner click the drop down arrow next to scanner and select the scanner from the list that appears.
A description must be added in the field Name.
Set the scanner settings and click OK to scan the document or Cancel to discard changes and return to the previous screen.
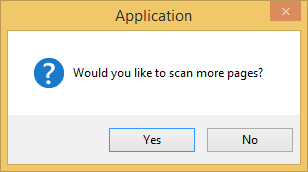
Click Yes to scan additional documents or No to view the scanned document.
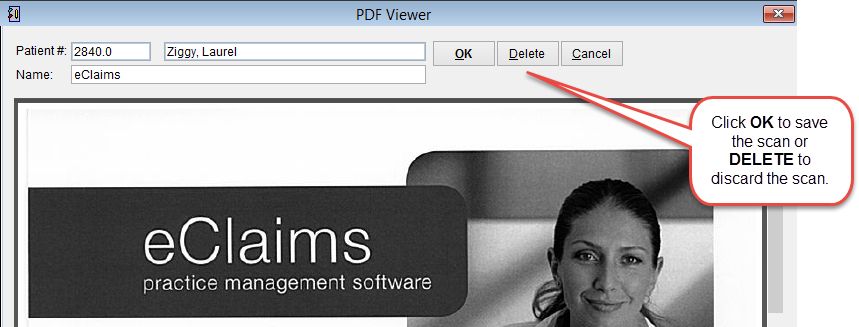
The scanned document is displayed with the patient name and MRN displayed at the top of the screen. Click OK to save the document or Delete to discard.
How to view scanned documents
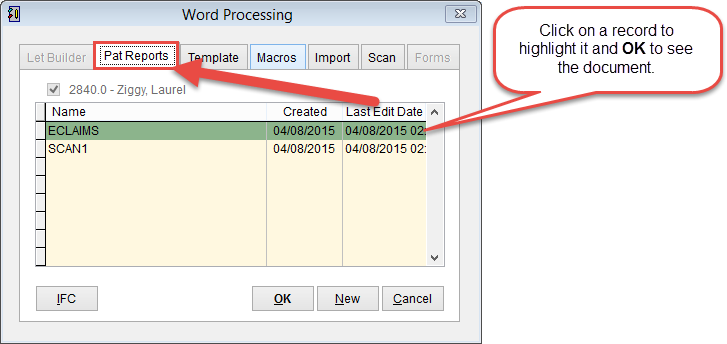
Click on the Pat Reports tab at the top of the screen to see all scanned documents for the patient.
Select a document so that it is highlighted and click OK to view the document.